Showing posts with label Dessert. Show all posts

Monday, November 10, 2014

White Chocolate Cran-Apple Bars

I have the biggest sweet tooth and would fully agree that sweets and desserts are an important part of any day. With Thanksgiving on the brain, I'm sharing a recipe for White Chocolate Cran-Apple Bars that will knock your socks off. I think cranberry is good in just about anything and it's phenomenal in these fall bars! 

  • What You'll Need
    • 2 cups all-purpose flour
    • 1 1/2 cups old-fashioned oats
    • 1/4 cup packed light brown sugar
    • 2 sticks of butter
    • 1 block cream cheese
    • 14 oz sweetened condensed milk
    • 2 cups white chocolate chips
    • 1/4 cup lemon juice
    • 1 TSP vanilla
    • 1 can Ocean Spray whole cranberries
    • 1 Granny Smith Apple
    • 2 TSP sugar

  • What You'll Do
    • In a food processor, purée the can of whole cranberries. Then add the peeled and sliced apple. Purée again, until smooth. Next add the two teaspoons of sugar. Purée and set aside.
    • In a mixing bowl, combine the flour, oats, and brown sugar. Cut butter into chuncks and add to the flour mixture. Using your hands or a pastry blender, cut the butter into the mixture until it is crumbly. 
    • Next stir in the white chocolate chips. 
    • Measure out 2 1/2 cups of this flour mixture and set aside.
    • Press the remaining mixture into the bottom of a greased 13 x 9 pan, pressing firmly with your fingers.
    • In a separate bowl, whip (I used a hand mixer) together the cream cheese until creamy. Then add the condensed milk, lemon juice, and vanilla extract. Mix again. Pour the mixture over the crust.
    • Spoon the cran-apple purée over the condensed milk layer, and spread it out evenly. 
    • Sprinkle the reserved flour mixture/crumble on top. 
    • Bake for 35 to 40 minutes or until the center is set. 
    • Serve hot or let cool completely and keep refrigerated until ready to serve. 


Wednesday, October 29, 2014

Vanilla, Chocolate, & Caramel Dipped Apples

These dipped apples were SO much fun to make! Plus, you can let your creative genius go to work as you pick the toppings and dipping sauces. I stayed more classic with my choices and really loved how they turned out. These are a great pop of color and would perfect for a sweet treat at a Halloween party or after dinner. 

This would also be a fun way to get your children involved in the kitchen, getting them to help you make these super tasty apple treats. Or host a cooking night at your house with your friends, setting a spread out on your counters and chatting while you put them together!

  • What You'll Need
    • Vanilla Bark
    • Chocolate chips of your choice (milk chocolate, semi-sweet, or dark chocolate)
    • Caramel sauce or caramel candies
    • Chopped walnuts
    • Slice almonds
    • Sprinkles
    • Old-fashioned oats

  • What You'll Do
    • Divide your dipping sauce choices into individual bowls. Melt them in them in the microwave, adding a splash of milk to the chocolate chips and a splash of water to caramel candies. (The vanilla bark will melt fine on it's own, but if you want you could add a splash of milk).
    • I used an apple slicer to split my apples into these slices, and I also left the peel on, washing it well beforehand.
    • Dip the apple slices into the dipping sauces then into the toppings of your choice. You can mix and match here with sauce flavors and toppings. The options are endless!
    • Once you have decorated all of your apple slices, put them in the fridge for at least 15 minutes. Then enjoy!


Tuesday, October 28, 2014

Brownie & Pumpkin Whoopie Pies

Halloween parties are so much fun to put together! Let's be honest, I LOVE putting any party together and will make one up just to throw it. I believe in party themes, and when you're working on a holiday party it's not hard to prep everything according to that holiday. With Halloween, I am looking for original and festive ideas. This is one of those.

Today I am sharing Brownie & Pumpkin Whoopie Pies, a take on a classic. These are the perfect little treats to spruce up the week or serve as a sweet treat for a Halloween party. They're quick and simple too!

  • What You'll Need
    • 1 box Duncan Hines extra fudge brownie mix
    • 1 egg
    • 3 TBSP water
    • 1/3 cup vegetable oil
    • 1 (3.4 oz) box pumpkin spice instant pudding 
    • Milk

  • What You'll Do
    • Prepare the pumpkin spice pudding according to the box directions for PIE FILLING (it uses less milk, making thick). Put in the fridge for at least an hour.
    • In a bowl, combine the brownie mix, egg, water, and vegetable oil. Mix well.
    • On a greased baking sheet, dollop a tablespoon worth of brown mix out, helping to shape it into a disk.
    • Bake at 350° for 12 to 15 minutes. You do not want over bake these.
    • Let the brownies cool. 
    • Put all of the pudding mixture into a baggie, cutting off the tip, then squeezing a helping of pudding on the flat side of the brownie. Top with another brownie, pressing slightly. 
    • Store in the refrigerator. 

 For more Halloween recipes, click HERE.

Monday, October 27, 2014

Vanilla Dirt Cake

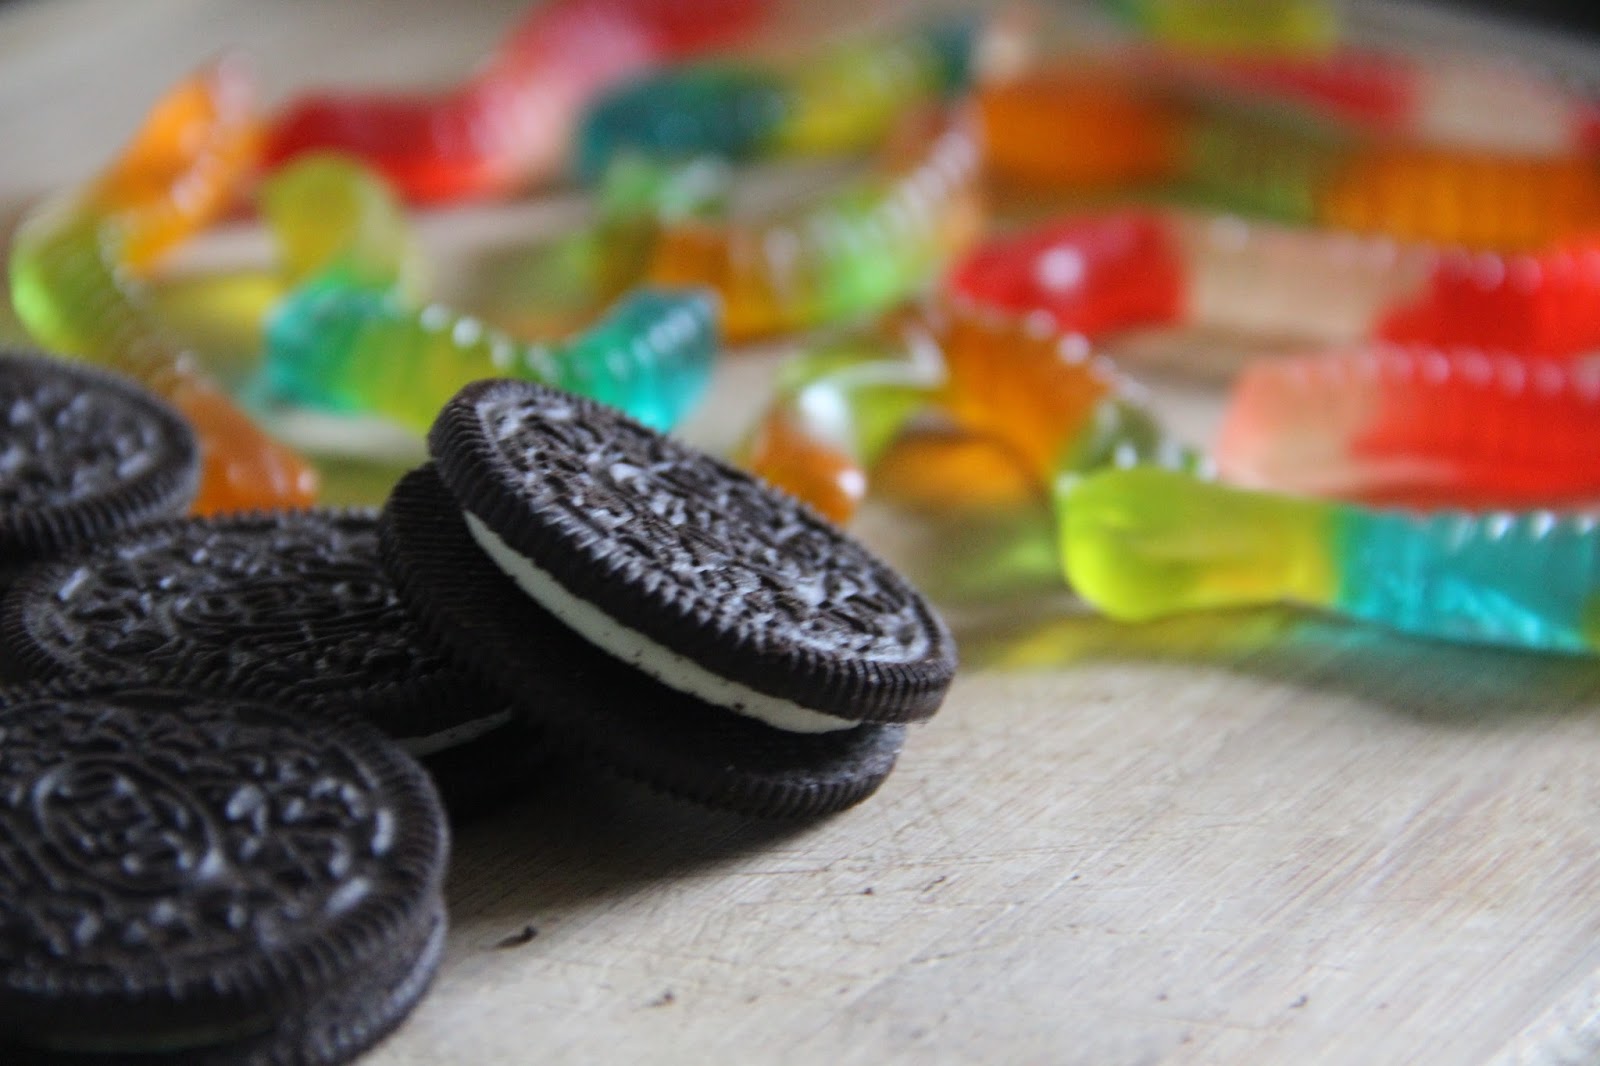
In honor of Halloween on Friday, I'm sharing Halloween-themed recipes all week long. And I'm throwing it back to childhood with this first one! Who doesn't love some dirt cake?! When I made this sweet treat to share with friends, I took a twist on a classic by turning the top of the dirt cake into a graveyard with the typical gummy worms, and some Pepperidge Farm Milano Cookies. Using homemade icing I wrote RIP on each wafter to really complete the Halloween look. If you wanted you could add pumpkin candy instead of worms. 

My favorite way to fix this dessert is with vanilla pudding instead of chocolate. I'm a vanilla girl through and through. But, if you are a double chocolate lover, you can pair your Oreos with chocolate pudding. Swapping it out is simple. 


  • What You'll Need
    • 1 pack of original Oreos
    • 2 (3.4 oz) packages of instant vanilla pudding
    • 3 cups milk
    • 1 cup powdered sugar
    • 1 (8 oz) package cream cheese
    • 1/4 cup butter
    • 1 (12 oz) Cool Whip

  • What You'll Do
    • In a bowl, whisk together the vanilla pudding and milk. Then add 1/4 of the container of cool whip.
    • In a separate bowl, whip the powdered sugar, cream cheese, and butter together with a hand mixer. Mix until smooth. Add the remaining 3/4 of the container of cool whip.
    • Using a food processor crumble the Oreos into pieces. You don't want crumbs, so make sure not to chop up too much. 
    • In a bowl, trifle bowl, or individual cups begin adding the crushed Oreos to make a bottom layer.
    • Next layer some pudding mixture, followed by a layer of cream cheese mixture, then more crumbled Oreos. Continue this layering until you get to the top of the bowl. Make sure Oreo is the last layer.
    • Then decorate the 'dirt' with worms, pumpkins, and gravestones.


Monday, October 20, 2014

Chocolate Chip Pumpkin Puffs

It's Monday, but I've got a little something to perk this day up! We're kicking off a week FULL of pumpkin recipes. Tell me you're not smiling. And I'm starting off with a pumpkin favorite. 


Three ingredients, that's it. These chocolate chip pumpkin puffs are such a simple and fun fall dessert. With a muffin-like texture, they are the perfect combination of chocolate and pumpkin. If you love those two ingredients you're going to love these! 

  • What You'll Need
    • Duncan Hines Spice Cake
    • 1 can Libby's pumpkin puree
    • Nestle mini chocolate chips

  • What You'll Do
    • In a mixing bowl, combine all three ingredients. Mix well, until completely blended. 
    • Drop by tablespoon onto a parchment paper covered baking sheet.
    • Bake in the oven at 350° for 15-20 minutes or until they look done.

If you're looking for some fun Halloween decoration ideas head over to my lifestyle blog, Hill Collection!! I'm sharing our Halloween décor today, along with DIY tutorials for making Halloween decorations throughout this week!! 

Thursday, September 25, 2014

Strawberry Deluxe Cake

Today is husband's birthday!!! And it wouldn't be complete without the cake his parents would make him every year on this day. It's a recipe that I learned the second week into dating Pete, and one that I've whipped up only four times to date. The strawberry deluxe cake only gets made once a year in the Hill house and only for a very special someone. Husband LOVES strawberries, making this cake the only appropriate dessert to serve the birthday boy. And with a mutual dislike for icing, the whipped topping for this cake is perfection; both of us could eat it by the spoonfuls!


  • What You'll Need
    • 1 box Duncan Hines Signature Strawberry Cake Mix
    • 10 oz of sweetened, frozen sliced strawberries
    • 3.4 oz package of vanilla instant pudding
    • 1 cup heavy whipping cream
    • 8 oz cool whip
    • Fresh strawberries

  • What You'll Do
    • Hours before you start this recipe, pull the frozen strawberries out of the freezer and put in the refrigerator or on the counter to thaw completely.
    • Prepare and bake the cake according to the box, using a 9x13 greased pan. (It only took 28 minutes to cook in my oven). Then set it aside to thoroughly cool.
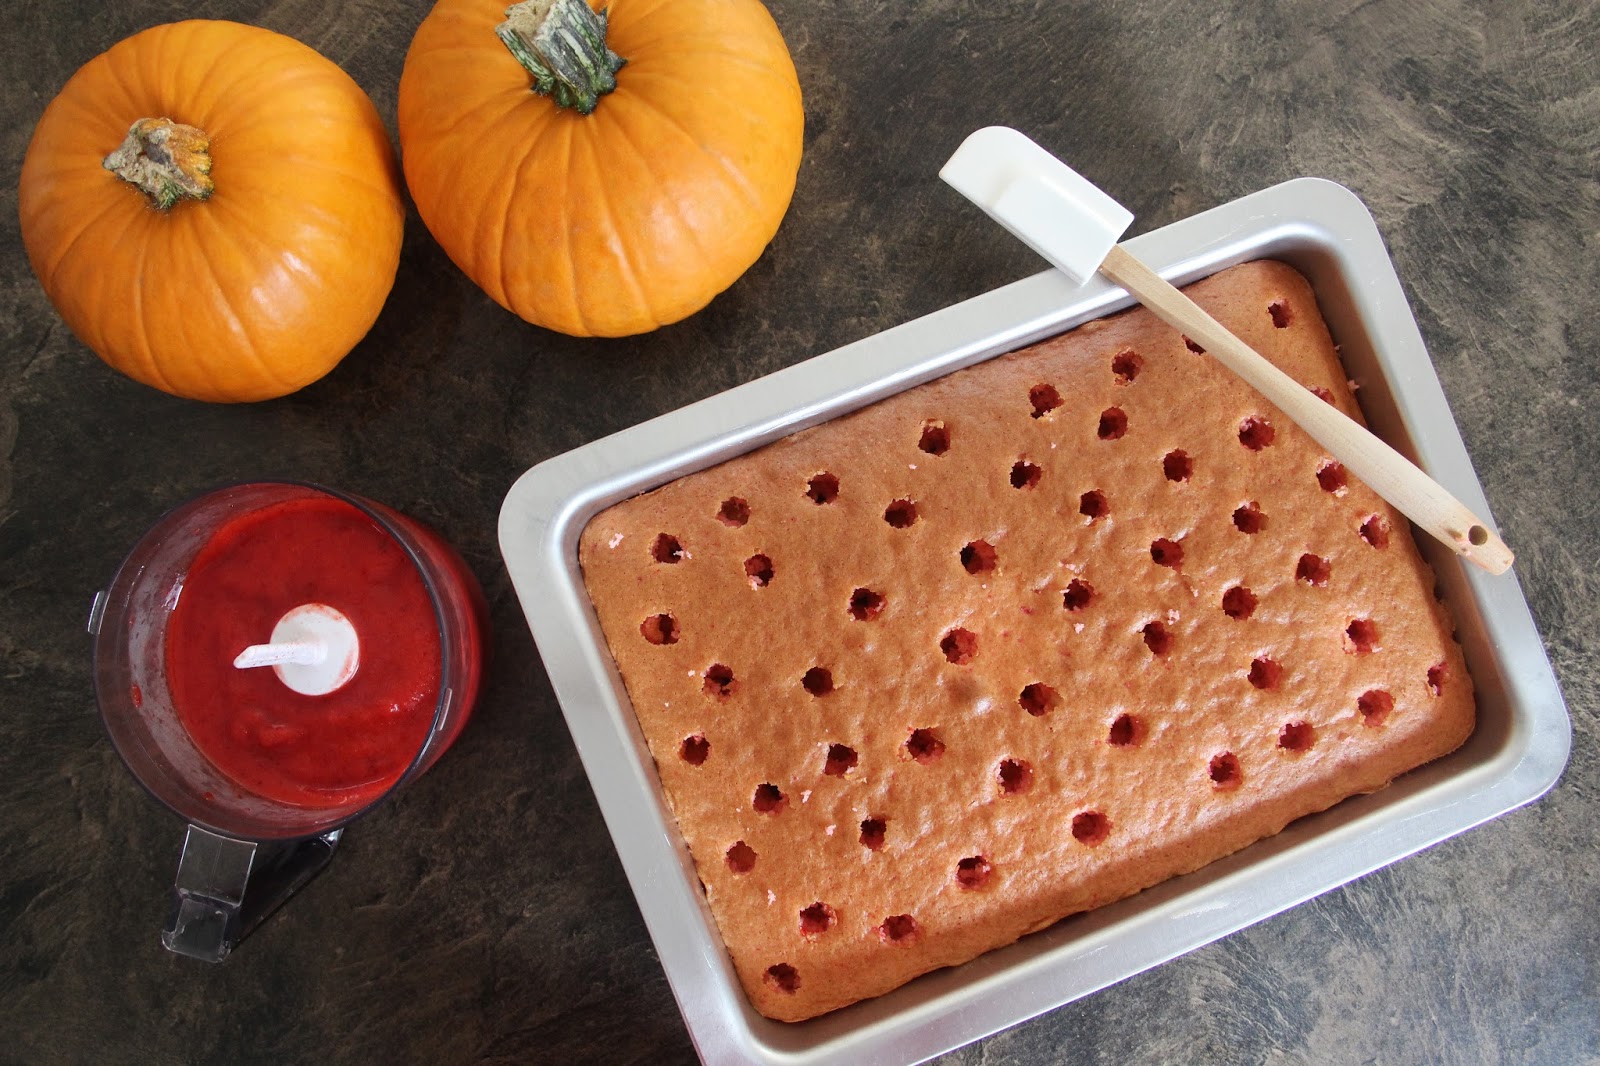
    • Put the thawed strawberries and their juice in a puree and blend until smooth. 
    • With the handle of a wooden spoon, poke holes in the top of the cake about one inch apart. 
    • Spoon the pureed strawberries over the cake and smooth out, allowing it to sink into the holes.
    • In a separate bowl, combine the pudding mix and the cup of heavy whipping cream. Stir until well combined, then fold in the tub of cool whip. Whisk it well, using a hand mixer to really fluff it up. 
    • In heaps, drop it on top of the cake and spread it out carefully. The strawberry puree will mingle with the 'frosting' a bit.
    • Slice up the fresh strawberries and garnish the cake with them. 
    • Put the finished in the cake for at least 4 hours, if not more time. 


Happy Birthday, my love!!

Thursday, September 18, 2014

Butter Cookies

This recipe comes from my cousin, Amanda, who introduced these amazing cookies to me over the holidays at Grandmom's a few years ago. When she first told me what was in them, I was pretty skeptical of how well they would actually turn out. After all, only 5 ingredients are used. 

But, oh my. These cookies, quite literally melt in your mouth. As a lover of soft and gooey cookies, these definitely take the win for softest cookies ever. And they're a crowd pleaser; so if you have an event to go to, guests coming over, or just need to stock your own cookie jar, this is the cookie for you. Husband and I love them! I have a feeling you will too!


  • What You'll Need
    • 1 stick of butter
    • 1 package of cream cheese
    • 1 box of golden butter cake mix
    • 1 TSP vanilla
    • 1 egg
    • Powdered sugar

  • What You'll Do
    • Let the butter and cream cheese soften. If you're like me, you will put them in the microwave for a few seconds to help the process along.
    • Mix all ingredients together, stirring well until everything is combined. Cover the mixing bowl with saran wrap and place in the refrigerator for at least two hours. Sometimes I will make the dough the night before and bake them the next day. 
    • After they have been in the fridge for the required two hours, roll them into balls about the size of a tablespoon. Then roll them in powdered sugar. 
    • Place in the oven at 350° for 10 minutes.
    • Sprinkle the tops of the cookies with powdered sugar after pulling them out of the oven. 


Tuesday, September 16, 2014

Apple Crisp Crumble

Husband and I went apple picking last Saturday in Charlottesville at Carter Mountain Orchard. Although the day was foggy with slight overcast and some drizzle every now and then, it was just like fall. We loved it and have already talked about going back. You can see our adventures at the orchard tomorrow on Hill Collection!

From our trip we collected 51 apples and have decided that for the next week we will be making all kinds of apple desserts and maybe even apple butter this weekend. 

Last night we kicked off the apple baking escapades with a favorite of mine, apple crisp crumble. It is such a wonderful combination of textures: oats, apples, and flaky crust. This dessert is perfectly fall and I hope you enjoy it!


  • What You'll Need
    • For the Crust
      • 2 1/2 cups all-purpose flour
      • 1 TSP salt
      • 1 TSP sugar
      • 2 sticks of salted butter cut into small cubes
      • 1 - 1 1/2 cups ice-cold water
    • For the Crisp Crumble Topping
      • 1 cup brown sugar
      • 1/2 cup old-fashioned oats
      • 1/2 cup all-purpose flour
      • 1 stick of chilled, salted butter cut into small cubes
    • For the Apple Filling
      • 1/2 cup sugar
      • 1 TBSP all-purpose flour
      • 1 1/2 TSP apple pie spice
      • 1/8 TSP salt
      • 5 apples (if you want a thicker filling, then use more apples)

  • What You'll Do
    • For the Crust
        • In a bowl combine the flour, salt, and sugar. Add the butter cubes to the mixture and with pastry blender or your hands, combine the butter and dry ingredients until it resembles coarse meal. A food processor can also be used. I chose to use my hands.
        • Next add the ice water. More may be needed if the mixture is still crumbly. Add a little more at a time until the dough sticks together, without being too gummy/sticky. 
        • Lastly, round and flatten the dough into a disk. Using a large piece of saran wrap, wrap the dough disk and put it in the fridge for at least an hour.
        • After the hour has passed, spread all-purpose flour on the counter and roll the dough out to about 1/4 inch thickness. Place it in a 9 x 13 inch baking dish and cut off the excess/over-hanging edges. Crimp the edges of the dough with your fingers, around all sides.
      • For the Crisp Crumble Topping
        • In a bowl combine the brown sugar, old-fashioned oats, and flour. Next, just as with the crust, course the cubed butter into the mixture until the entire mixture is crumbly. Set aside.
      • For the Apple Filling
        • Slice the apples, removing the peel. For me, I like thin apples in desserts, so I sliced them accordingly. Leave on the cutting board and combine the sugar, flour, apple pie spice, and salt in a bowl, stirring well. Then add in the apples, mixing until the apple slices are coated.
        • Put the apples in the pie shell that has been placed in the 9 x 13 baking dish. Then add the crisp crumble topping, pressing it down some so that it will stick to the apples. 
        • Place the dessert in an oven set at 375° for 40 - 45 minutes. 
        • If not eating right away, let it cool completely then cover with a lid/tin foil and store in the fridge. To reheat the dessert, turn the oven to warm and place the apple crisp crumble in for about 30 minutes.

Tuesday, September 9, 2014

Bourbon Blueberry & Peach Cobbler

Officially, it's still summer, but fall has very much taken over for me (you should see my house). As part of my summer-wrap up for foods this week I wanted to share a summer dessert treasure! You can't not make this, I'm telling you now.

During July, I tried out a Food Network recipe for a campfire cobbler. Instead of heating over the coals, I baked it in my oven. It turned out amazingly! As someone who is not a fan of bourbon, I was pleasantly surprised with the taste and how much I loved it. The crumble top didn't hurt, and was in fact my favorite part. Really, who doesn't love a good crumble?!

The first time I made this, we ate it with the recommended side of vanilla yogurt. Again, I was surprised with how delicious that was. Yogurt and cobbler don't sound like a winning pair, but it was such a nice combination of textures. The second time I made this (yes, it's good enough to make over and over again), we paired it with vanilla frozen yogurt. It was super that way too. I think you could keep pairing it with several different varieties of yogurt or frozen yogurt and it would still be a amazing. Maybe some different flavors too....how about a lemon version?

Hurry and grab the fresh fruit before it disappears as autumn creeps in! You're going to want to gobble this cobbler up!

  • What You'll Need 
    • For the filling
      • 5 peaches, sliced
      • 3/4 cup blueberries
      • 1/4 cup bourbon
      • 1/4 cup sugar
      • 2 TBSP cornstarch
      • 1 TSP cinnamon
      • 1/4 TSP grated lemon zest
      • 1 TSP fresh lemon juice
      • 1/2 TSP vanilla extract
    • For the topping
      • 1 cup all-purpose flour
      • 1 cup old fashioned oats
      • 1/2 cup sugar
      • 1/2 TSP kosher salt
      • 1 1/2 sticks cold butter, cut into cubes
      • 2 TBSP heavy cream
      • Vanilla yogurt or frozen yogurt for serving

  • What You'll Do
    • Preheat the oven to 375 degrees.
    • In a large bowl combine the sliced peaches, blueberries, bourbon, sugar, cornstarch, cinnamon, lemon zest, lemon juice, and vanilla. Mix well and set aside.
    • In a second large bowl, combine the flour, oats, sugar, and salt. Add the cold butter cubes and cut into the flour mixture. Use a pastry blender or your hands (I used my hands because it worked best).
    • Once the mixture is coarse and clumps when squeezed, add the heavy cream and mix until the dough comes together a bit more. 
    • Pour the filling into a pie dish. Spoon the topping mix evenly over the filling.
    • Bake for 30 to 35 minutes. When the cobbler is done the fruit will be bubbling around the edges and the topping will be light and fluffy. 
    • Serve with a side of vanilla yogurt or frozen yogurt. 


Related Posts Plugin for WordPress, Blogger...